HOW TO REPLACE YOUR RAM
WHAT YOU WILL NEED
- Screwdriver

STEP 1:
Power off your PC and switch off the power supply.

STEP 2:
Remove the power cable and hold the power button on the case for 5 seconds to discharge any remaining power left in the PC.

STEP 3:
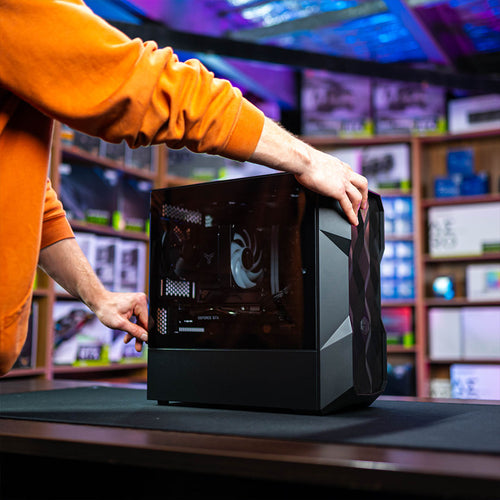
Depending on your PC, use a screwdriver to remove the screws that hold in the side glass panel to access the inside of the PC.

TIP: It's recommended that you lay the PC on its side.

STEP 4:
Press down the plastic latches at both ends of the RAM sticks.

STEP 5:
Pull the RAM sticks directly up and out of the case.

TIP: BEFORE installing the RAM, make sure the latch is pressed DOWN.

STEP 6:
Insert the RAM into the slots and make sure you hear the click.

If you're using a kit of 2 RAM sticks, make sure to install them in the CORRECT SLOTS.
For most motherboards, the RAM should be installed in slots 2 and 4 (As pictured).

Your motherboard should have a diagram which indicates which RAM slots should be used first.

STEP 7:
Reinstall the glass side panel.

STEP 8:
Plug in the power cable into the power supply and switch it on.

STEP 9:
Power on your PC and now you're good to go!

GET A 100% CUSTOM PC


